Homemade Wooden Keg Fridge
I decided it was time to graduate to the next stage of homebrewing: using kegs instead of bottles. Bottles are so much work to fill, only to be emptied a short time later!
The typical “kegerator” project involves drilling a hole in a small fridge, fitting a tap, and sticking the rest of the keg system inside. It’s pretty straightforward but it’s pretty bulky for what only really fits one or two kegs. Regular home fridges don’t have a flat bottom. They have that step in the back where they hide the compressor pump, which is fine for a vegetable crisper but no good for kegs. They also have the freezer, shelving in the door, and a variety of stuff that gets in the way.
My friend and brewing buddy Hayden challenged me to build a custom fridge. It could be exactly the right dimensions for the kegs, without all the wasted space. It would be more compact in the apartment (and possibly be more efficient). He sweetened the deal by offering me a bunch of beautiful reclaimed Douglas fir boards to build it with.
The Plan
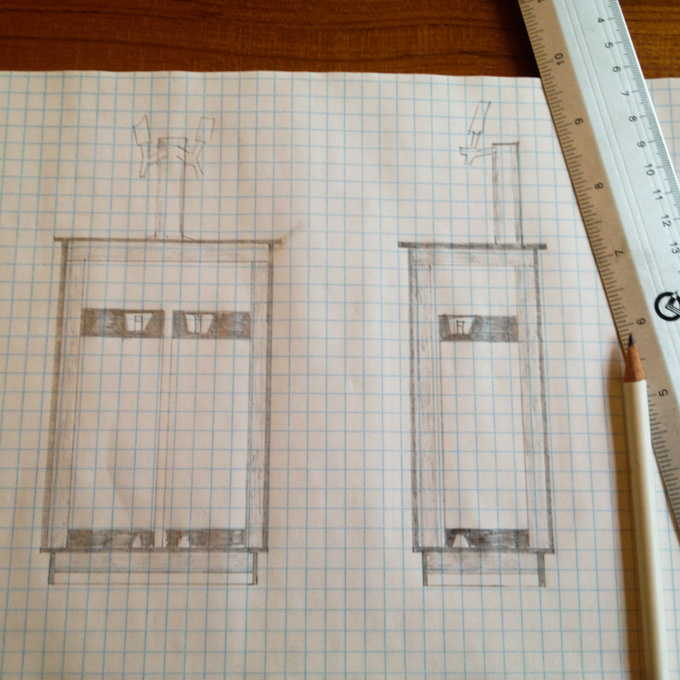
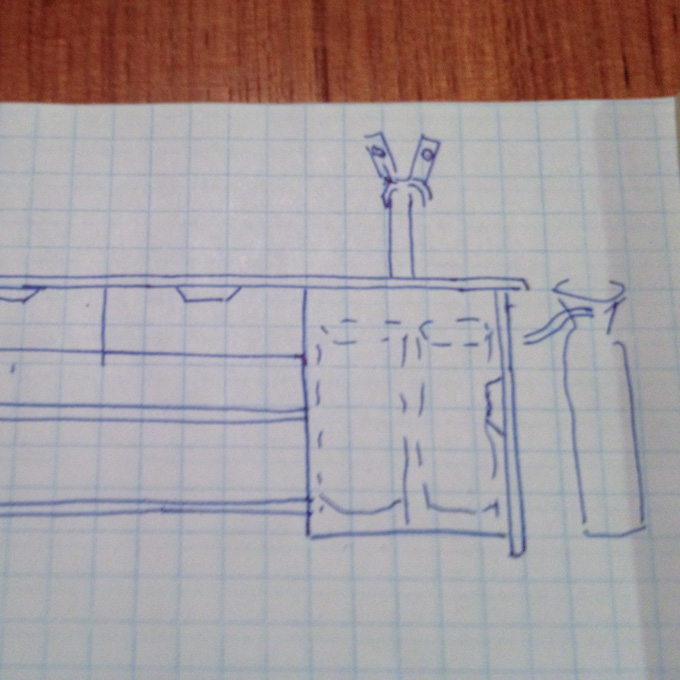
To build a wooden cabinet, insulate it with rigid pink foam, and attach a peltier cooling device salvaged from a camping cooler that plugs into a 12V vehicle outlet. Here’re the sketches I made.
I know — peltiers are not very efficient and don't perform all that well. But they're so small, I have one already, and it seems to have worked for this guy.
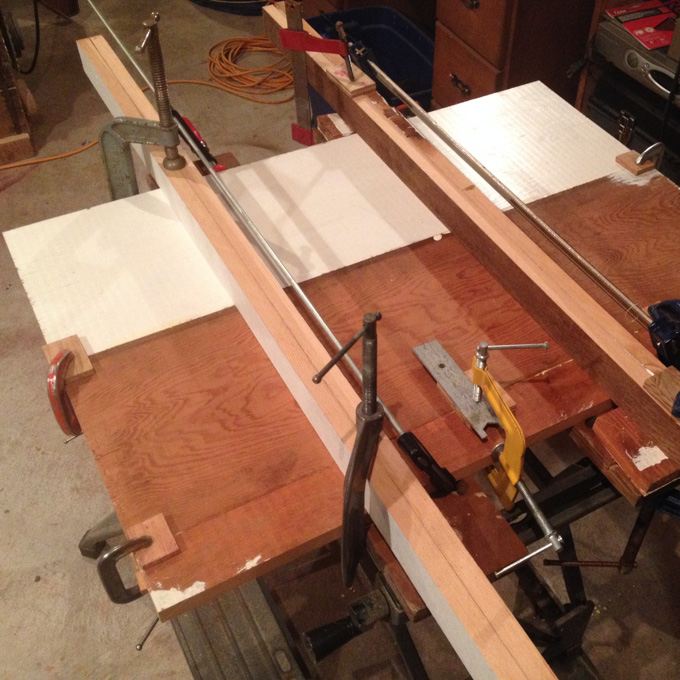
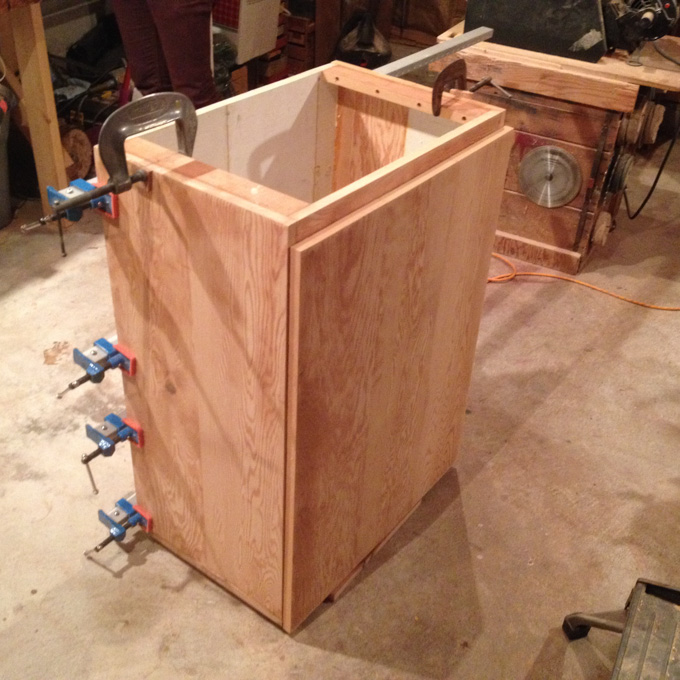
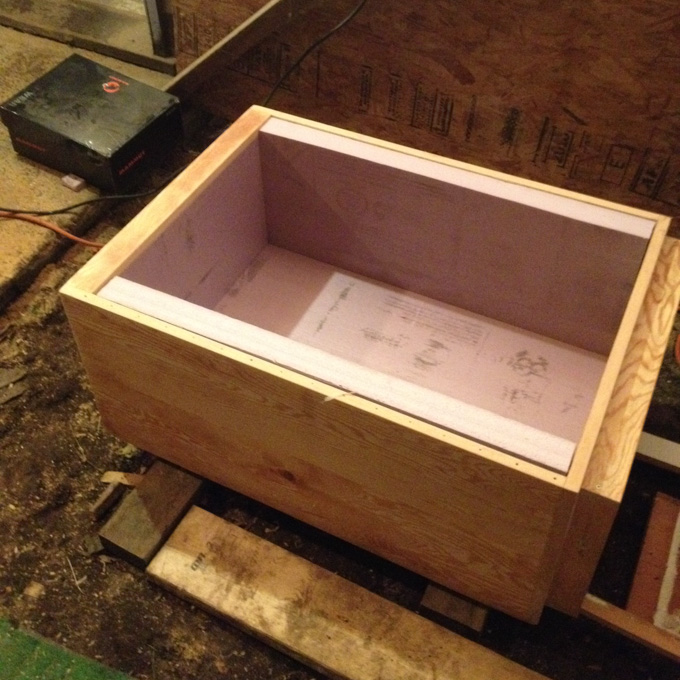
I spent the next couple months working a day or two per week at my friend Shaun’s basement woodworking shop, learning the necessary woodworking skills and going pretty slow. I sanded it like crazy and sanded some more. I probably oversanded. Next time I would sand less and keep more of the patina of the salvaged wood.
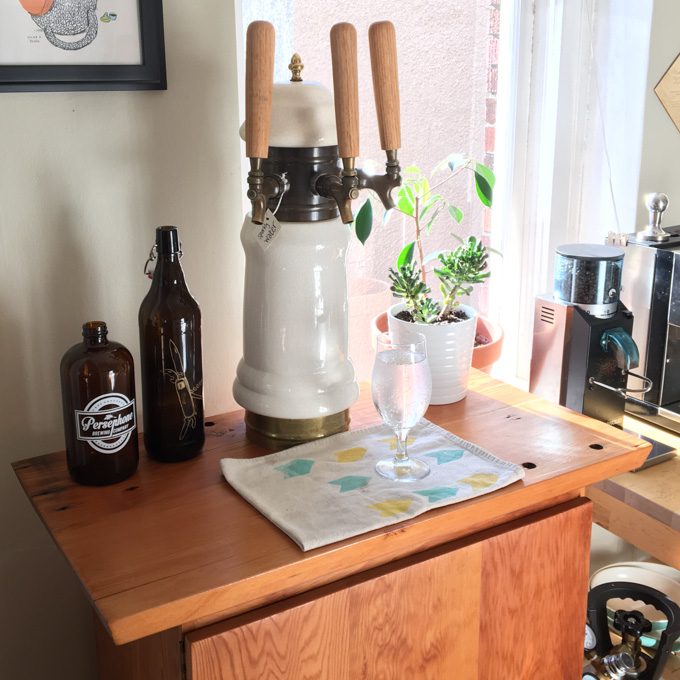
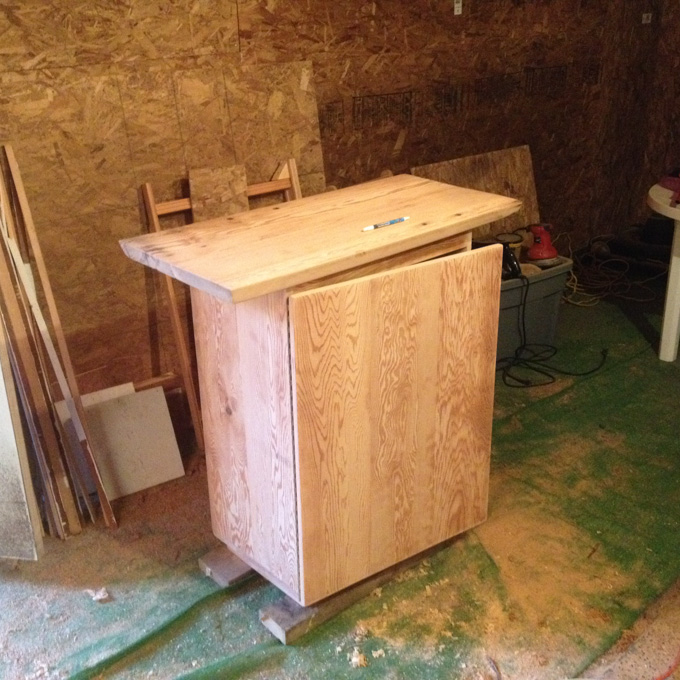
Anyway, It turned out way better than I imagined.

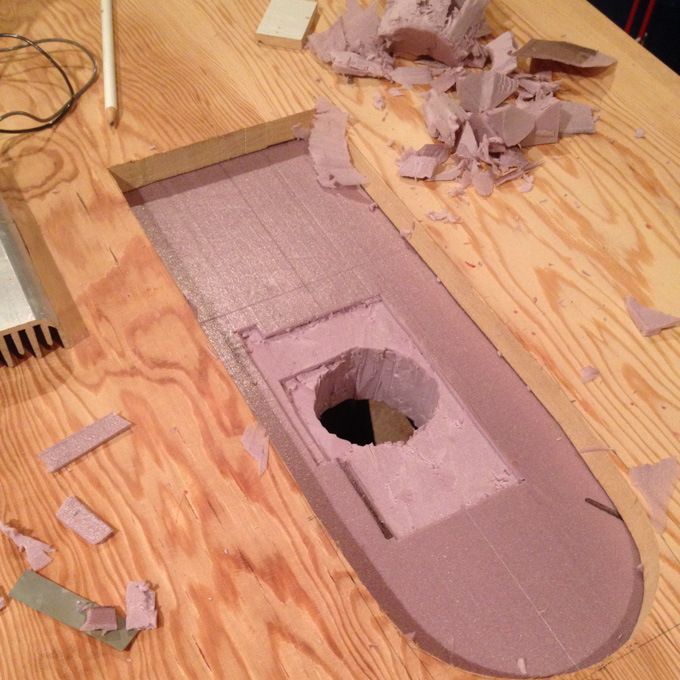
Insulation & Cooling
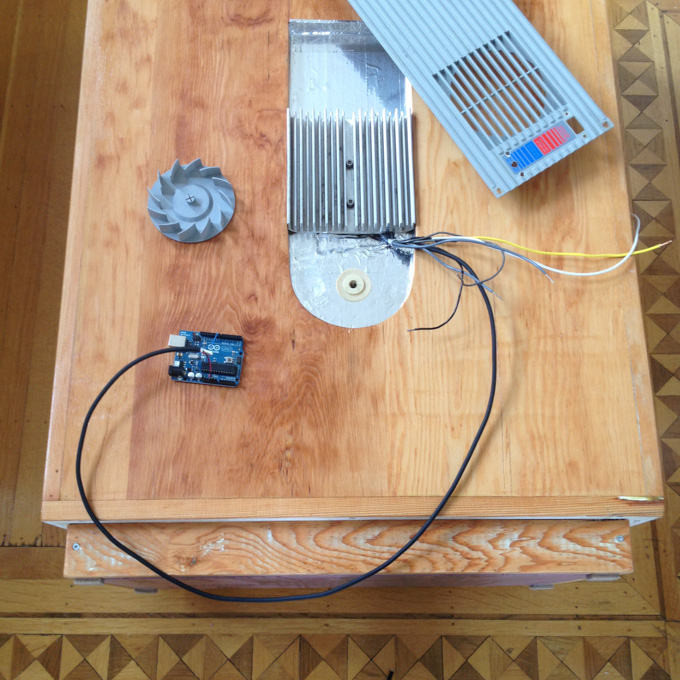
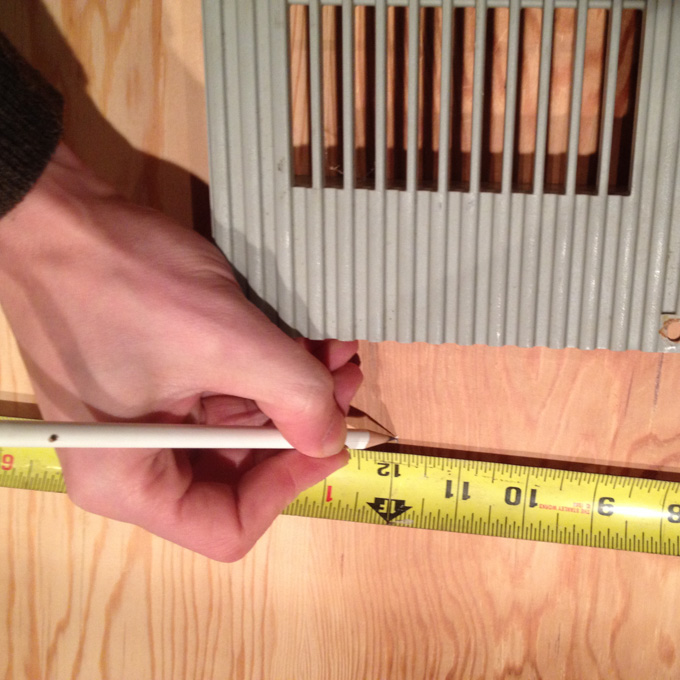
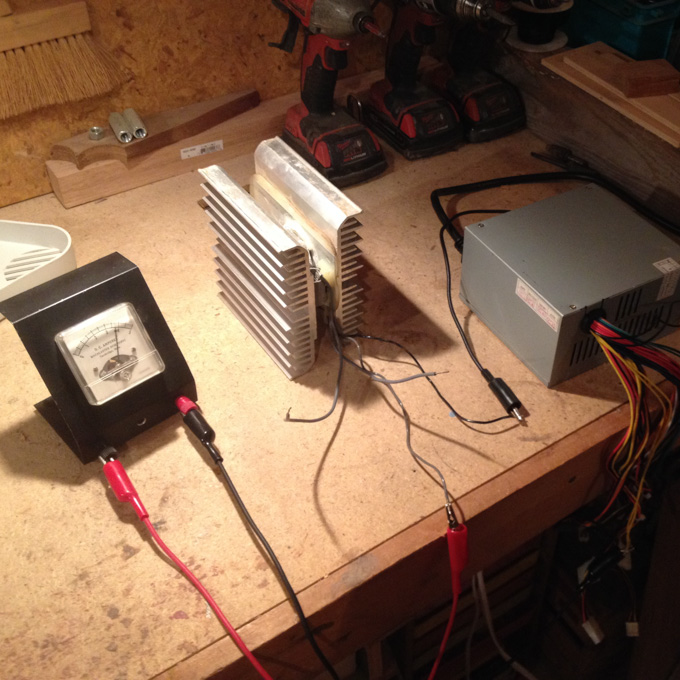
The peltier cooling device was from an electric Coleman cooler. When I removed it from the cooler, it was just two huge aluminum heatsinks sandwiching a regular 12V peltier cooler like the ones you can get on eBay for ten bucks. There was a plastic assembly that included some fans to help force air through the heatsink fins too, so I kept it all and meticulously designed the wooden cabinet so that it would fit in pretty much as-is.
Poor Peltier Performance
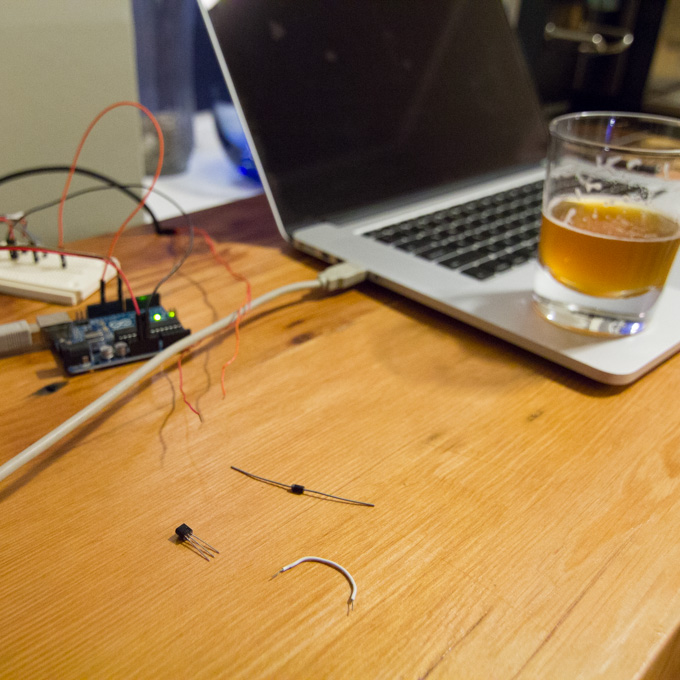
Once I got the cooling assembly fitted, I filled one keg with water and the other with some homemade beer. I wired up some DS18B20 temperature sensors to an Arduino, I closed it up, and I let it run. And run. and run… and after 5 days it was just barely cool enough to be almost acceptable. The cold side of the peltier was below 5°C, but the internal ambient was more like 12°C. The beer coming out of the tap was somewhere in the middle.
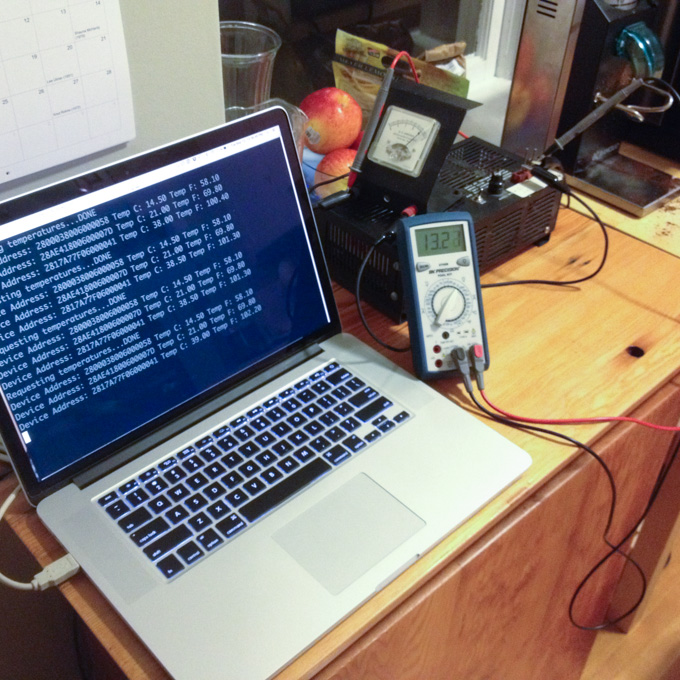
I spent weeks tweaking it to try and get better performance. I made minor adjustments to the insulation and seal. I researched peltier performance characteristics, considered building a specialized PWM controller and looked at buying a newer or bigger module. I tried to vary the voltage to get the maximum heat transfer (ie: cooling) with the minimum internal power dissipation (heat). I logged everything I tried and studied the graphs. It was around here when a comment I had seen somewhere on the Internet began to sink in: all projects involving peltier devices ultimately end in dissapointment.
Well shucks. I had been seduced by the peltier’s small size and silent operation. I ignored every indication that it was completely underpowered for this project.
Lesson learned: calculate and study the thermodynamics before getting too far into a heating or cooling project! At this late point in the project, I finally started to really research refridgeration. For example, here's an interesting link about self-defrosting.