Stop-motion with ffmpeg
ffmpeg is your swiss-army knife in the digital video wilderness
I've long been familiar with ffmpeg's ubiquity. I guess I've used it indirectly for years by uploading to youtube and using Handbrake and whatnot. It wasn't until recently that I had a project that spurred me to look at it more closely.
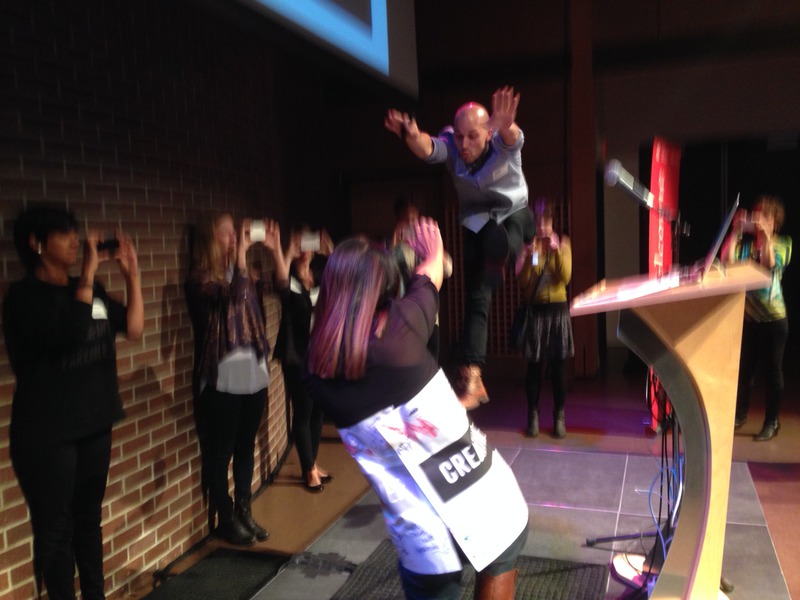
Shaun Huberts gave a talk at Creative Mornings Vancouver about "play", and wanted to create a fun video involving the audience. He got a dozen people with iPhones to stand in a circle as he and his wife struck a Kamehameha pose. Each photographer emailed me their photo, and I shovled them into ffmpeg to create a stop-motion bullet-time video complete with audio, logo overlay, and fades on both ends. Minutes later, we played it on the big screen for everyone to see.
Our particular experiment didn't go so well: lots of people didn't email the photo in time or it got stuck in their outbox or whatever. But this technique is perfect for any timelapse or stop-motion video production workflow. Here are my notes...
1. Collect the images
They need to be sequential. I named mine 01.JPG through 12.JPG, but you might be able to get away with the default filenames that your camera assigns. Put them all into a folder.
2. Resize and orient the images
If your source images are from multiple cameras, they will undoubtedly be varied in size and quality. For our purposes, I wanted to force their size to 800x600.
Cameras also embed EXIF metadata describing the orientation of the camera when the photo was taken. This is important because you can use a smartphone to take a landscape photo in two different orientations, 180° apart from each other. Most image software reads this metadata and rotates the image for you, but we have to ask for this explicitly.
$ mogrify -auto-orient -resize 800x600! *.JPG
3. Turn it into a video
This interprets the image series as an 8fps movie, looping for 20 seconds and producing a 30fps movie file.
ffmpeg -t 20 -f image2 -r 8 -loop 1 -i "%02d.JPG" -r 30 "out.mov"
4. Add an image overlay
I prepared a transparent PNG, and overlayed it using the overlay filter.
ffmpeg -i out.mov -i ../CMVan_Square_Logo_sm.png -filter_complex 'overlay=main_w-overlay_w:main_h-overlay_h' logo.mov
5. Fade to black
The fade filter applies a 30-frame fade in at the beginning, and a similar fade out at the end. Note that the timings are all in terms of absolute frames.
ffmpeg -i logo.mov -vf "fade=in:0:30, fade=out:570:30" fades.mov
6. Add music
This adds a music file and uses the afade filter to fade it in for one second at the start and out for one second at the end.
ffmpeg -ss 1 -i ../Mixed.wav -i fades.mov -af "afade=t=in:ss=0:d=1, afade=t=out:st=19:d=1" -t 20 final.mov
References